Lab 1: Evaluate and Design an RPA Process
Introduction to MuleSoft RPA Manager
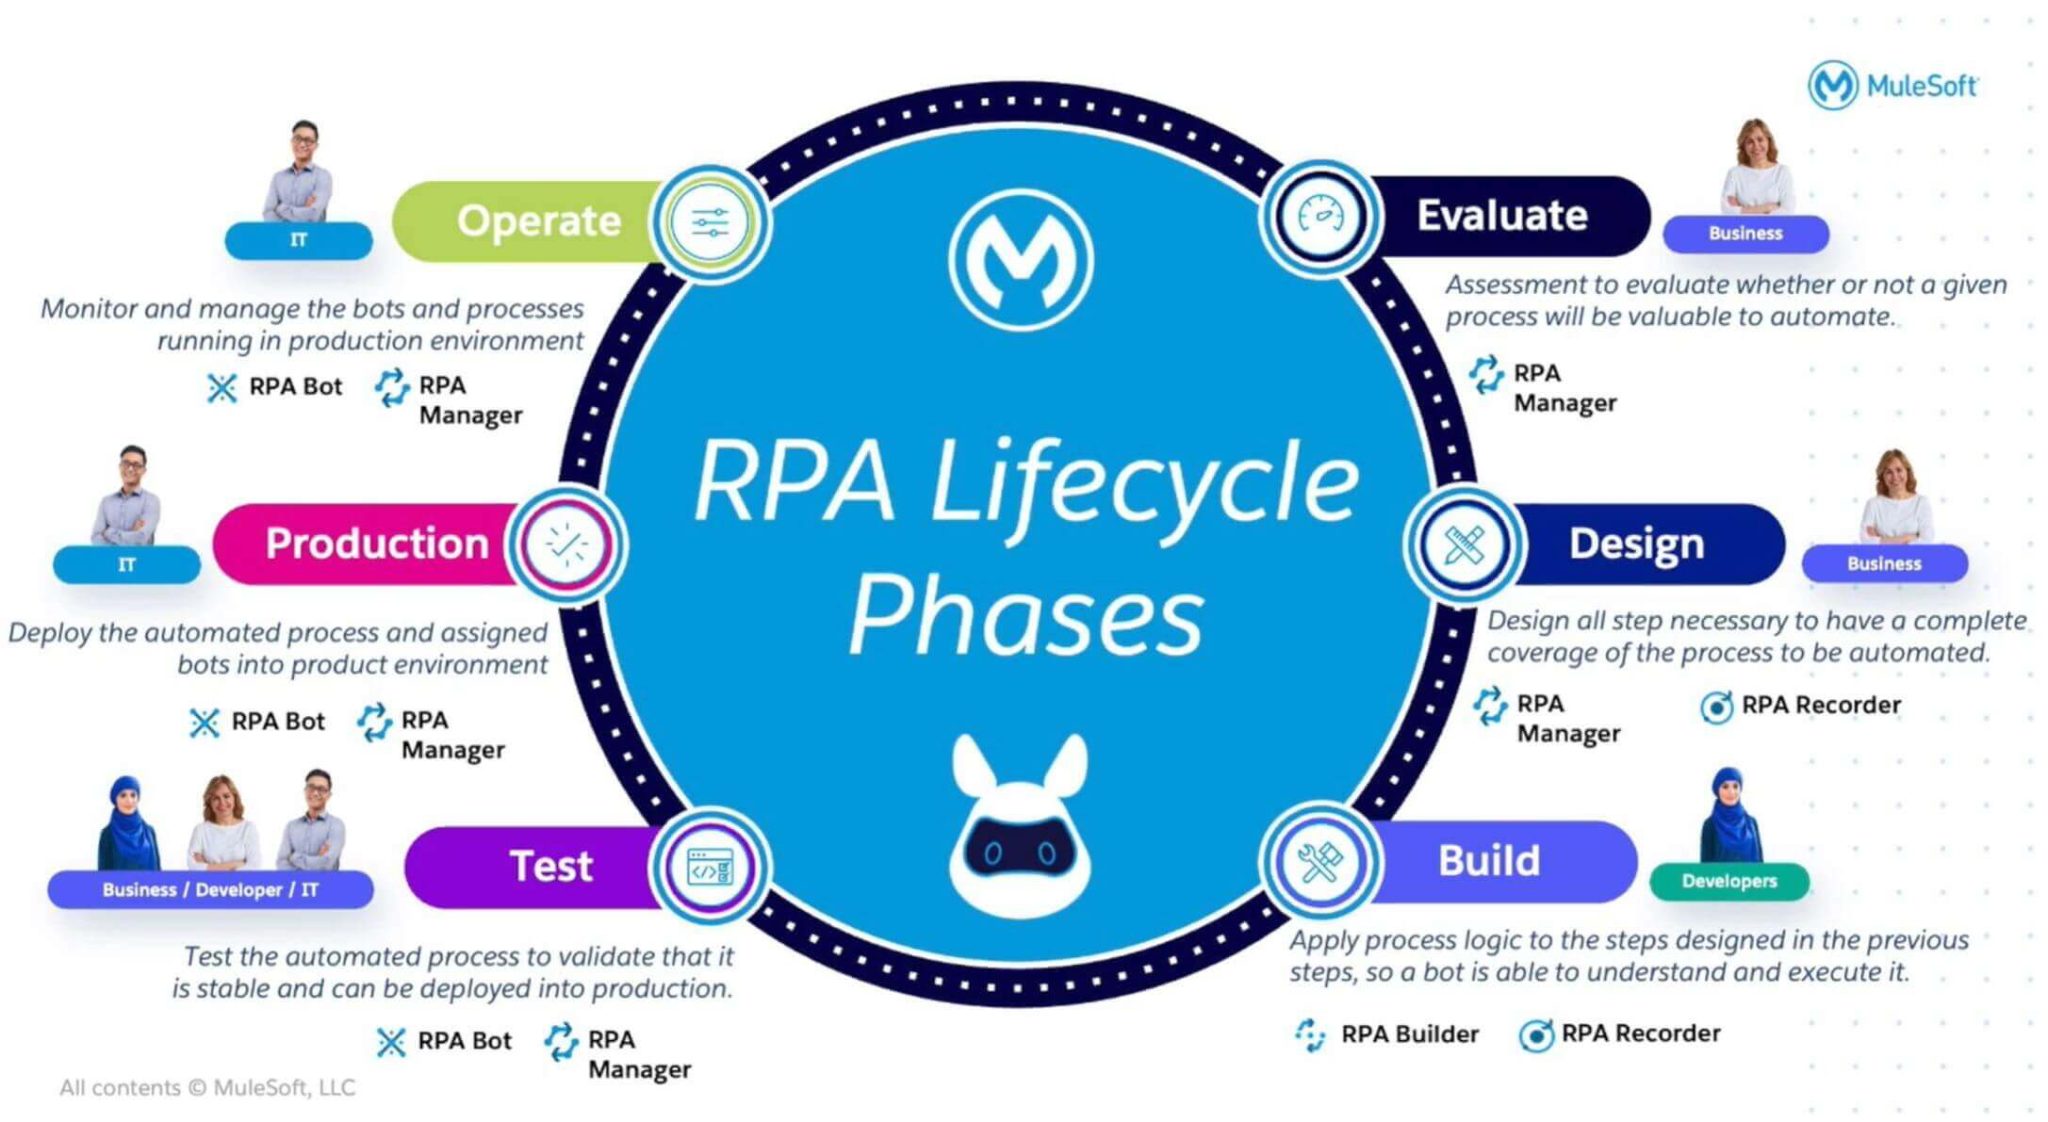
MuleSoft RPA Manager is a cloud-based control plane that helps you Evaluate, Design, Manage and Monitor all your RPA automations from a single place. It comes packed with features like Bot/User Management, Process Designer, Custom Dashboards, Alerts, and more to make management of automation simple for IT teams.
You can learn more about RPA Manager here
Create a Process Evaluation
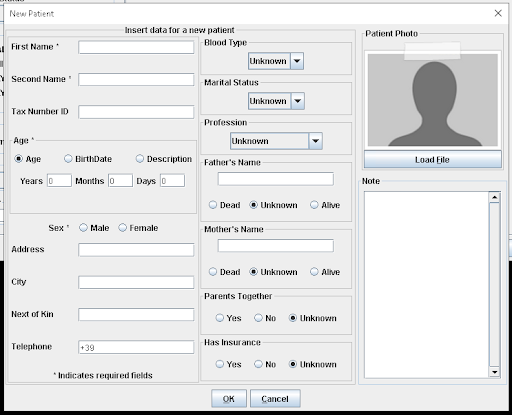
The process that needs to be automated with RPA is to take the data input by the patient in the Google Form and enter it into the legacy EMR, Open Hospital. The patient data entry screen is a simple structured form with field labels. Sounds simple, right?
Evaluating the process helps ensure our teams properly define the scope of the automation and its fit for RPA prior to investing resources. It can also be a great way to crowd-source automation ideas and prioritize a pipeline of opportunities!
To create a new process evaluation:
-
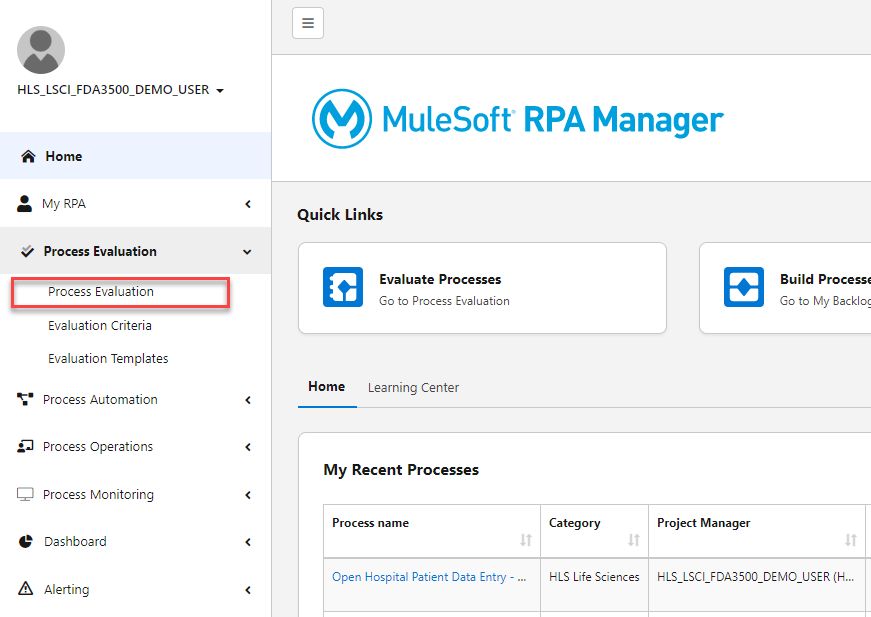
In RPA Manager, expand the Process Evaluation Menu >> click Process Evaluation
-
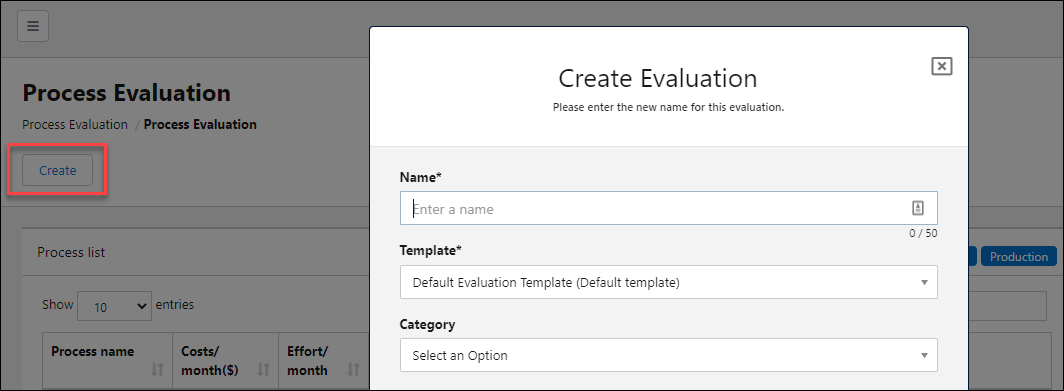
Click on "Create" and then type "Open Hospital Patient Profile Entry_<Your Initials>" in the Name field
-
Click OK.
After confirming these details, you are redirected to the evaluation view where you specify the Costs, Qualifiers and Benefits for this process:
-
Set the Manual Process Execution Time to 00:10:00
-
Enter a cost per process run and frequency per month - choose any values you like! These metrics help track ROI for the project throughout the project lifecycle.
-
Slide the Benefits and Qualifiers bars to see the impact on the scoring for the automation opportunity.
-
In our case, the process should be quite stable. It should also be rules-based, with structured data since we’ll just need to take data from the spreadsheet and enter in defined fields in Open Hospital.
-
The benefits of the process reflect what the business stands to gain in terms of value. How urgent is it for us to act now? Is it simple/complex? High/low risk? In this case, there is moderate urgency as Audrey’s team would be burdened with continued manual work after investing in the initial Composer solution. The complexity is low for simple data entry robots and the risk is moderate, as we’re dealing with patient data!
-
-
When you’re finished, click Save.
Review a Process Design with Recording
After you finish evaluating a process, the collective team can decide if it is suitable to be approved to move forward to design. After submitting to Steven, it turns out today is your lucky day!! Your automation use-case was approved. Great job!
The next phase is a critical step to ensure that the automation that ends up being built meets the requirements of the task or process.
In Design, the business user (Audrey) can collaborate with the automation developer (Steven) to design the high-level process steps and even record the process to capture all the detailed steps involved.
Record, you say? Yes, but not a typical "recording" (don’t worry, there’s no camera crew coming to record how you do your work!). This recorder captures clicks and keystrokes automatically to auto-generate documentation for the design. This includes descriptions of steps, screenshots of the actions and even bot actions that match what the user performed!
For the design of this process, we’ve done some of the heavy lifting for you and recorded the steps that Audrey typically performs. Follow the instructions below to review the process design and recording assets in RPA Manager.
-
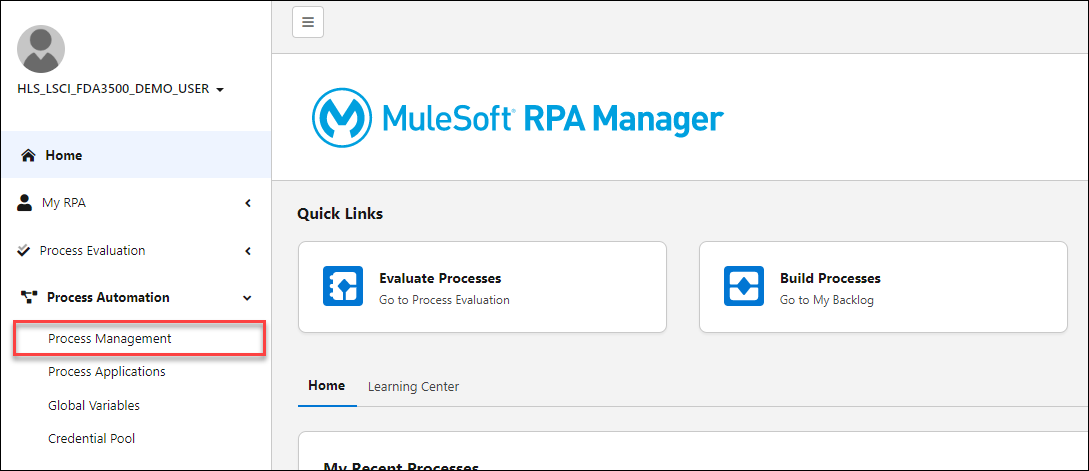
In RPA Manager, click Process Automation > Process Management
-
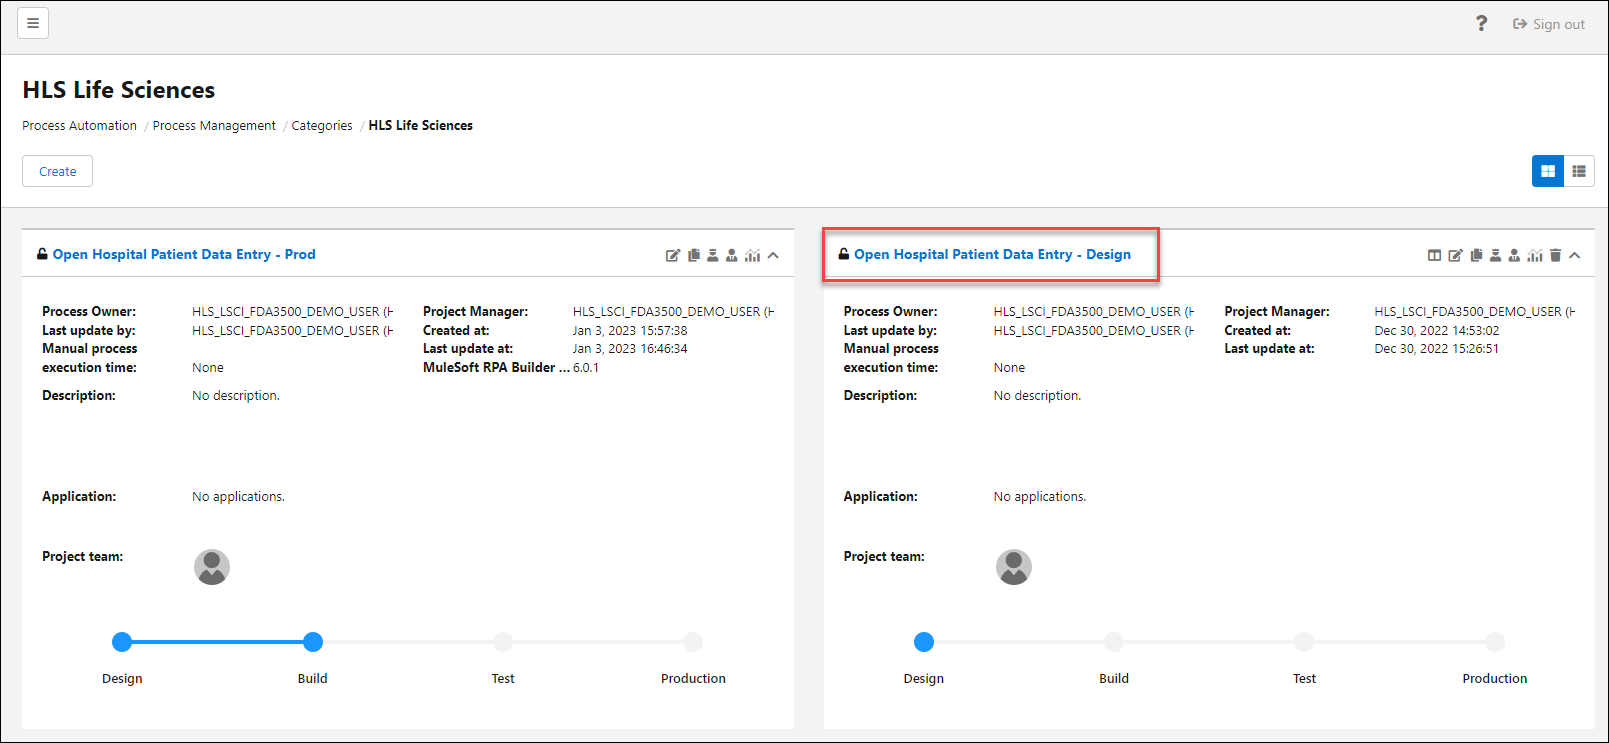
Open the "Workshop" category
-
Find the process titled "Open Hospital Patient Data Entry - Design" and click the title to open the design.
-
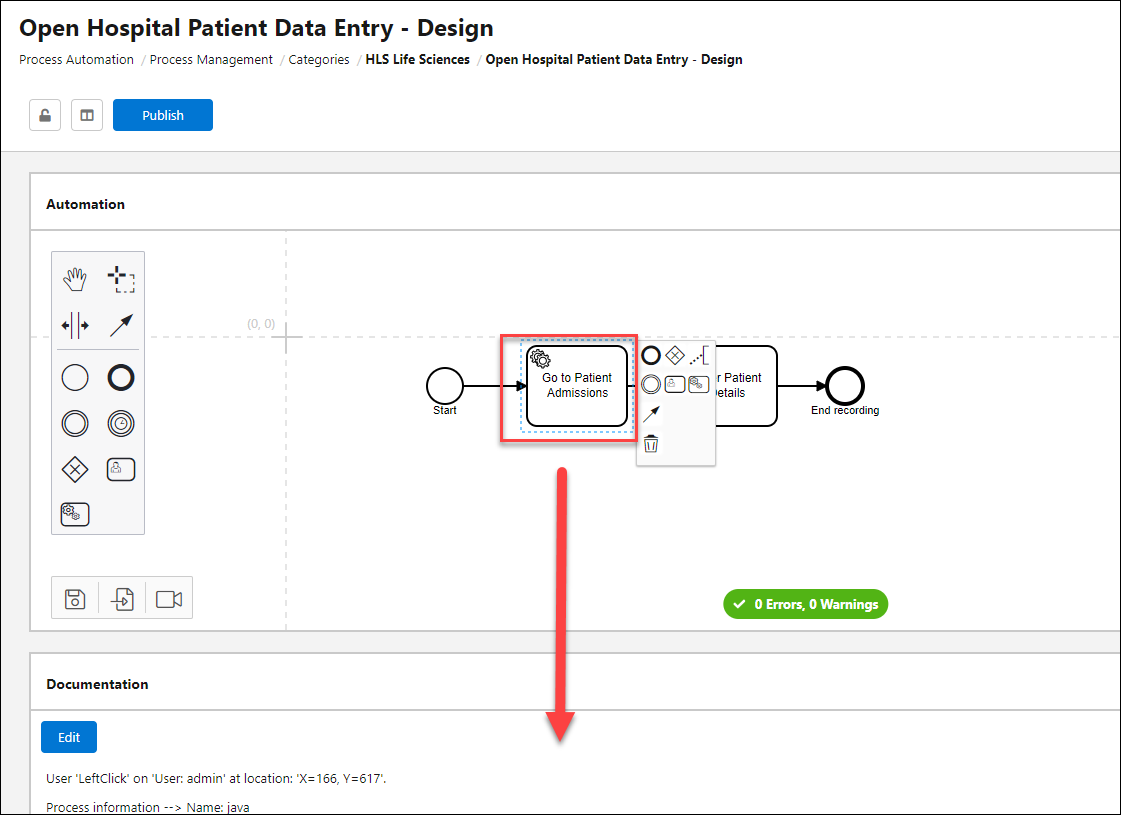
Review the Process Steps at the top of the page. Mulesoft RPA uses standard BPMN 2.0 format to design process steps. In this case, we can clearly see the two main steps involved to perform data entry in the Open Hospital application.
-
Click on the first step in the Process Diagram titled "Go to Patient Admissions". REview the data that populates in the section below. Notice the step descriptions and screenshots. These are all auto-generated by the recorder!
-
Click on the second step. Scroll through the documentation to see how the users performing classic "swivel-chair" work, navigating from back and forth between Excel and Open Hospital.
-
Click Home when you’re finished reviewing.
Congratulations!

You have set your automation project up for success!
Through evaluating the project’s fit for automation, prioritizing against impact and then designing the process steps with granular detail through the recorder, your automated process is closer than ever!
What’s next?
With all this great documentation in hand, Steven will transfer the recordings and auto-generated steps automatically to RPA Builder. From there, we’ll be able to edit the steps and build out the final version of the automation!
Move on to Lab 2 to get hands-on with building an RPA bot!