Lab 3: Test and Deploy the RPA Process
Steven is excited with what he was able to accomplish in RPA builder without writing a single line of code! he understands, however, that to release this bot for use at scale in Audrey’s use case, they’ll need to test across as many scenarios as possible.
By thoroughly testing RPA processes, Steven can help maximize the success rate of automation projects, reduce the risk of errors, and increase the overall ROI. Moreover, testing helps to ensure that the RPA processes are working in compliance with organizational policies, procedures, and regulations. Proper testing is critical to the success of any automated task and an important pillar for the program Steven is working to build.
Fortunately, RPA Manager provides in-built test plans to run tests at scale. Steven can set the bots to run and monitor the results to ensure everything is working as expected.

Review the Test Plan for the RPA Process
-
Navigate back to RPA Manager in your browser and log in with the provided credentials (if logged out).
-
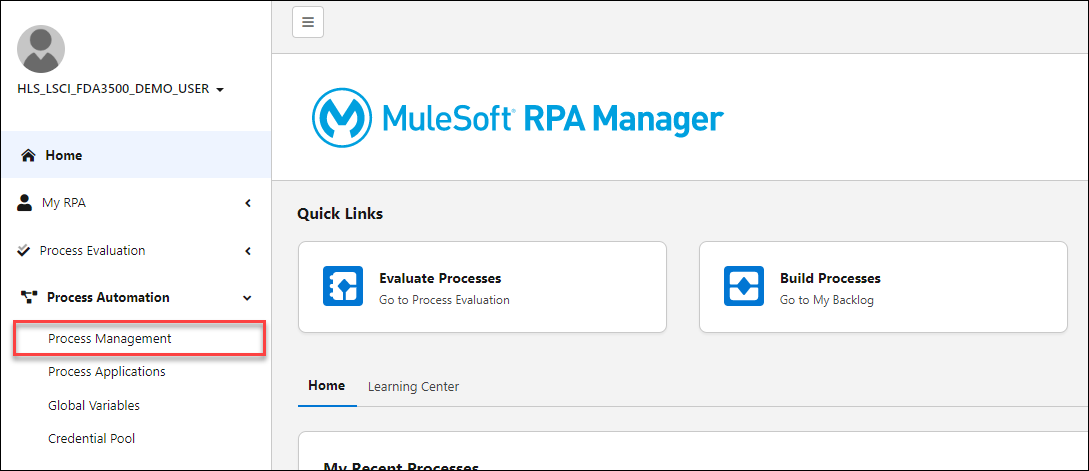
Go to Process Management
-
Go to the "Workshop" category
-
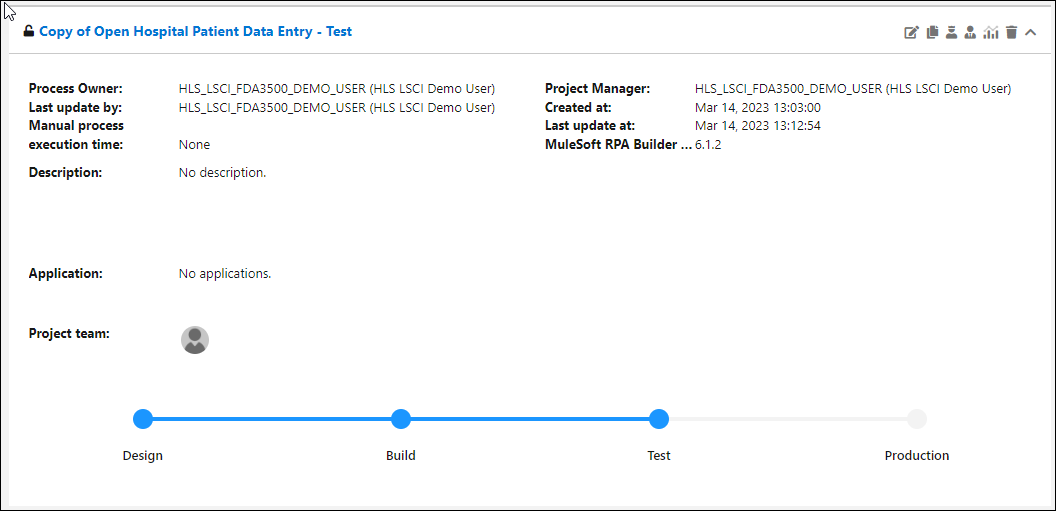
Open the process that is titled "Open Hospital Patient Data Entry - Test" and is the Test phase (as marked by the blue progress dots at the bottom of the tile)
-
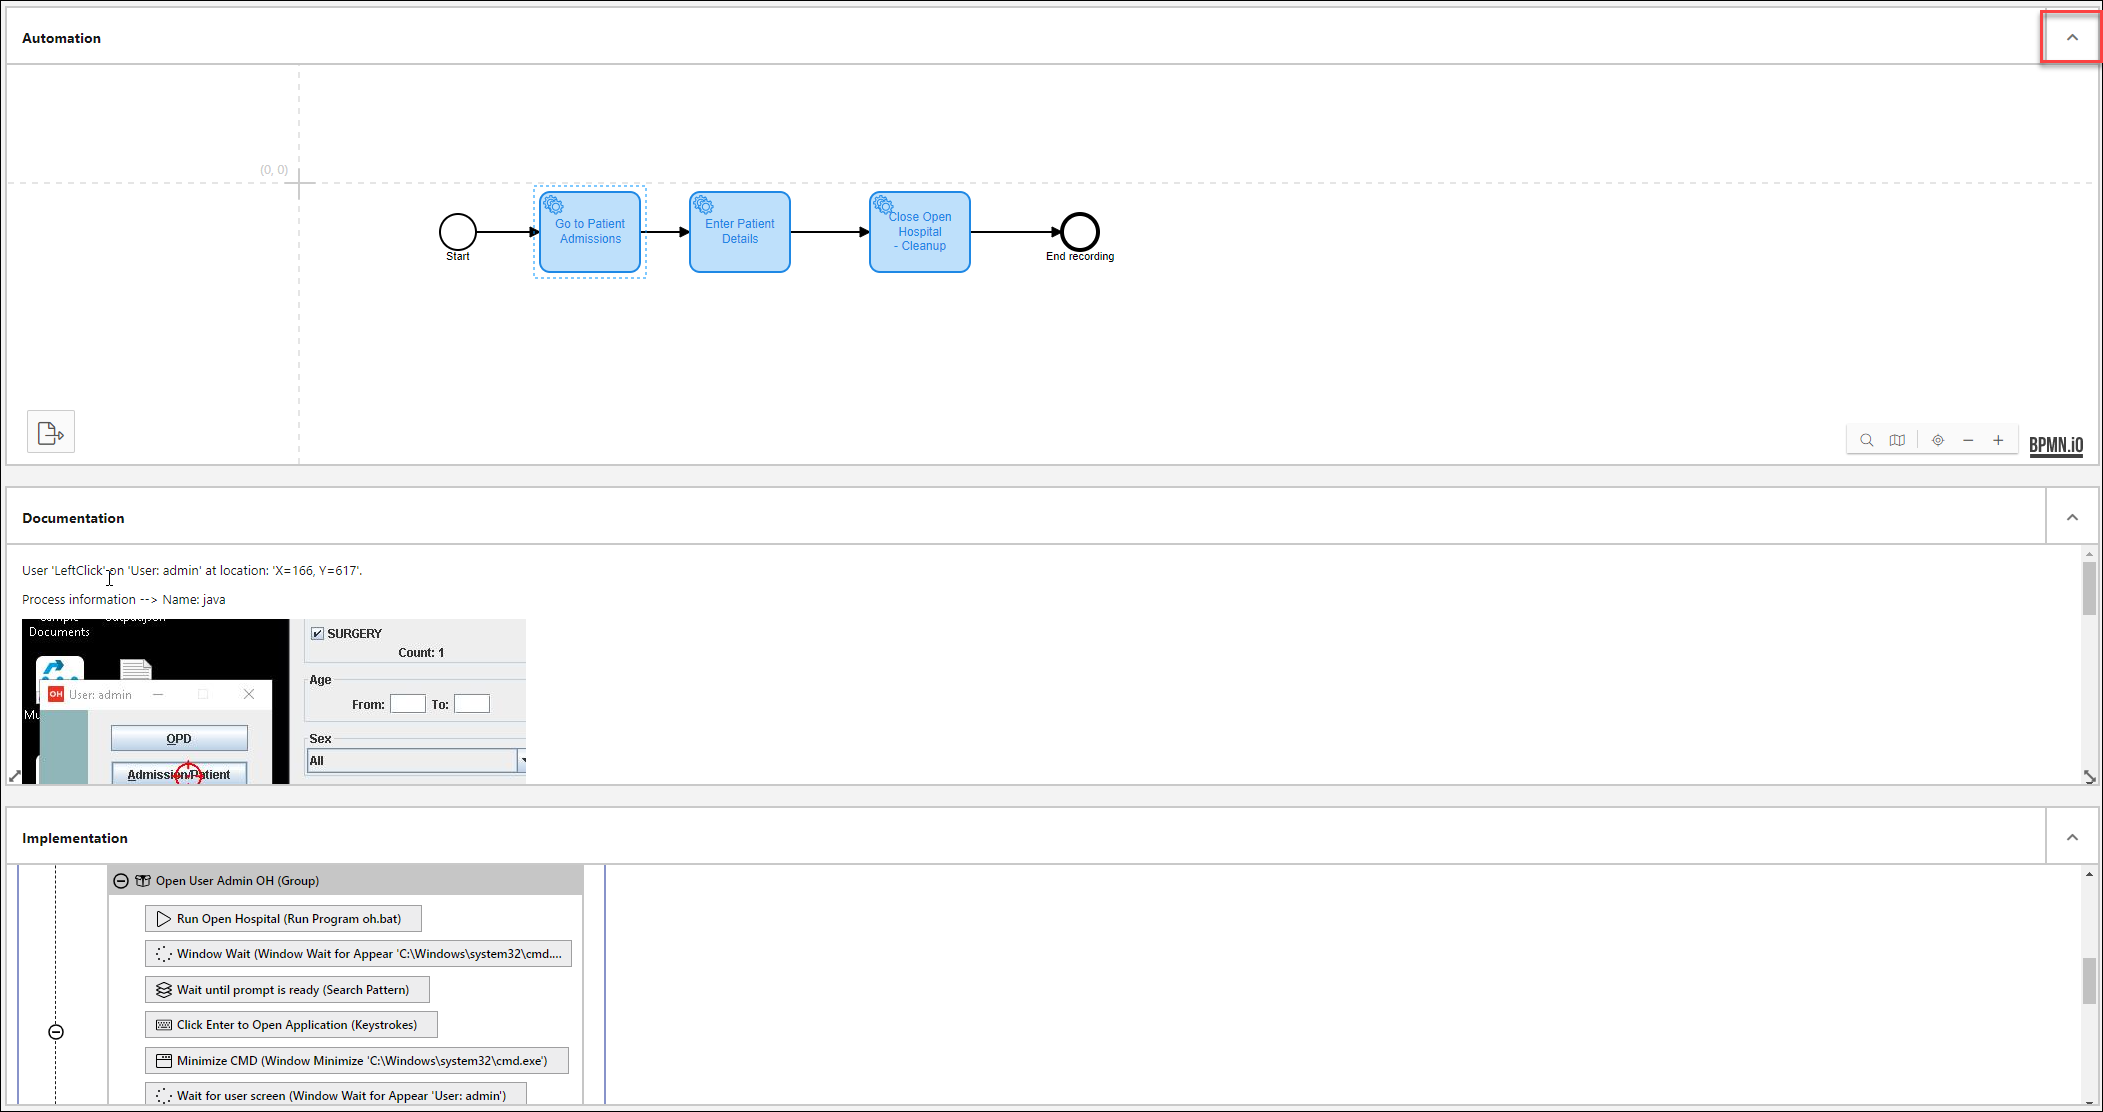
Note that there is a test plan that has been created! Before we click to review the test plan, explore the assets that have been promoted with the process as it has moved to the test phase. We can review all the submitted documentation, process design, detailed implementation and change log to see how this project has progressed through the lifecycle! Click the arrows in the top of of each section to expand and review.
-
Scroll back to the top and click the pencil icon to edit the existing test plan.

-
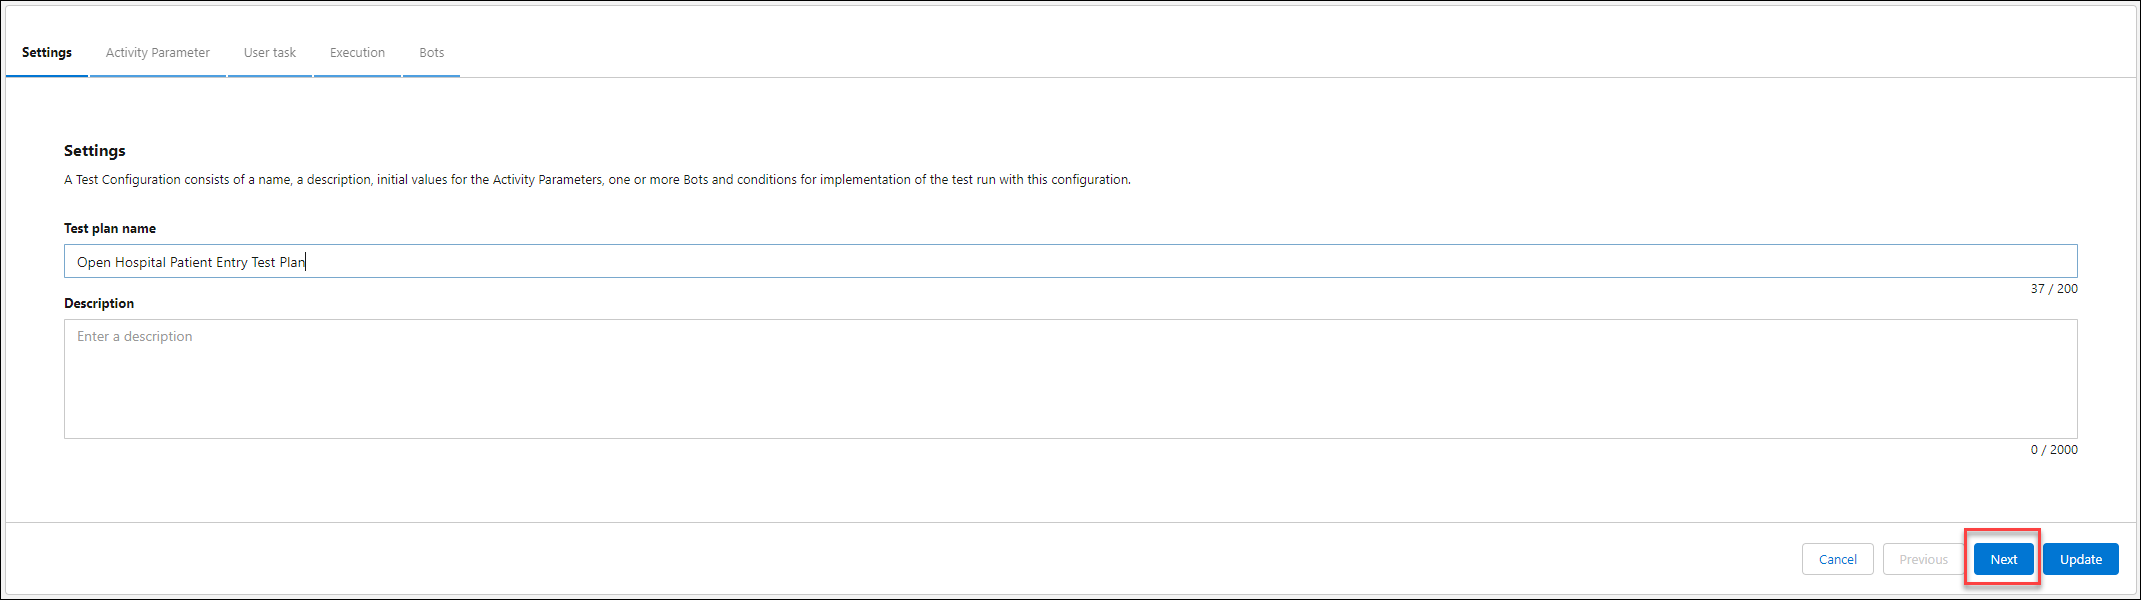
Click through the setup steps to see how we can create a test plan. The first step is just setting the name.
-
Click next. Now we see how we can define different input values for our tests. This can help us capture a variety of different scenarios and monitor the results!

-
Click next - we don’t have any user tasks in this process, so we’ll skip this step.
-
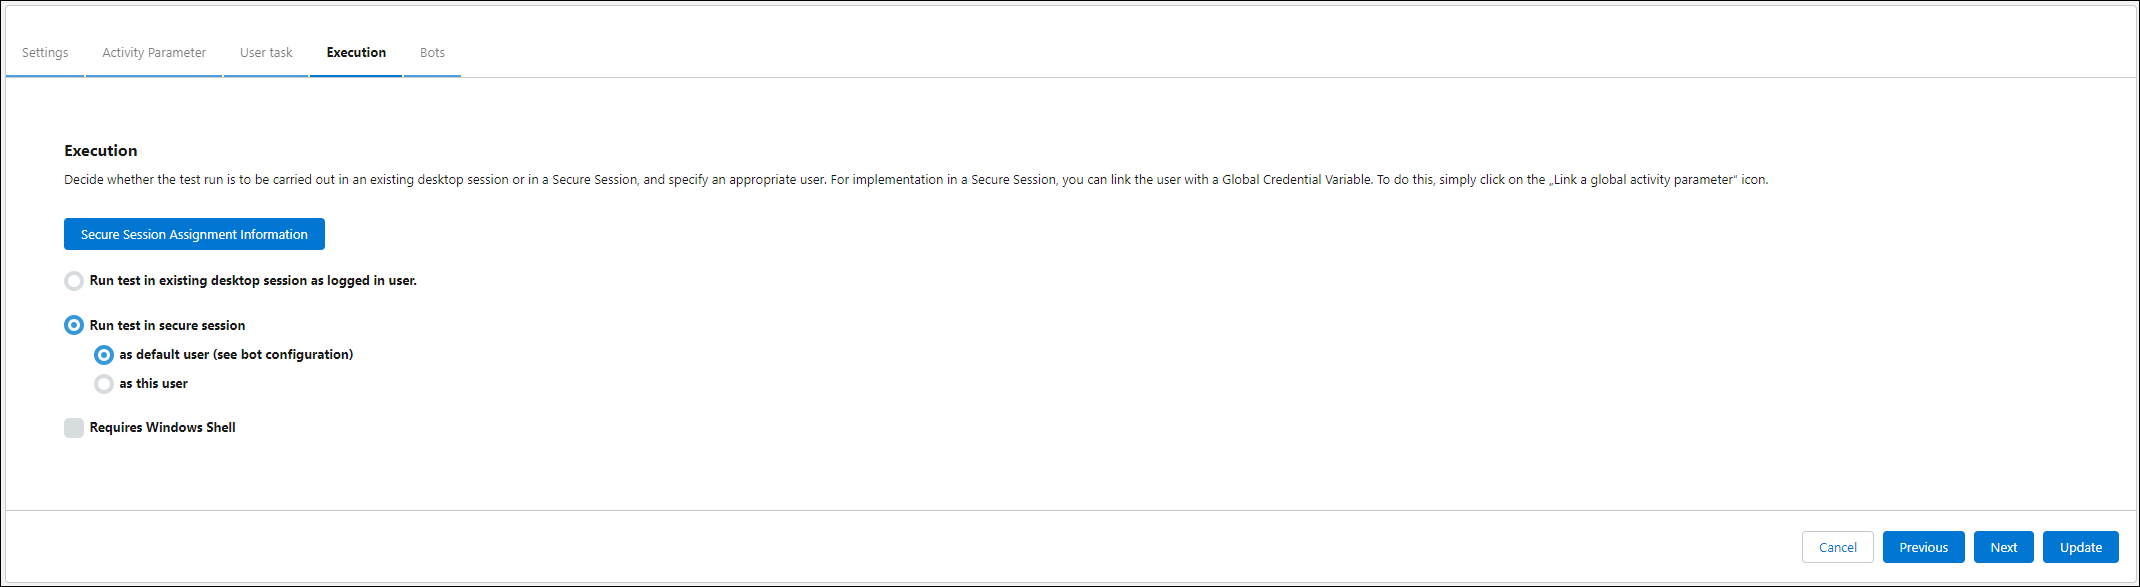
Click next to see execution assignment. You can run a bot in an existing desktop session (a user must be logged in already) - or tell the bot to create a remote desktop session in a virtual machine. These are secure sessions that run in the background. You can learn more about secure sessions in the Mulesoft RPA documentation.
-
Finally, we select 1 or more bot machines to assign this test plan. We can run several tests on one machine, or across many different machines.

-
Test results will be tracked and monitored in the Run Results section. Furthermore, if the RPA process includes logging (a best practice that we didn’t cover in depth in this workshop) those results can be reviewed to ensure all is in order with the results from the tests!
Publish the RPA Process to Anypoint Exchange (Instructor Demo)
Once testing is complete, Steven feels confident he can release this new RPA Process to be used in production. Now, he could set up the integration directly for Audrey to trigger the process in her workflow - but that would consume more time and resources, and Steven has other priority projects that need his attention.
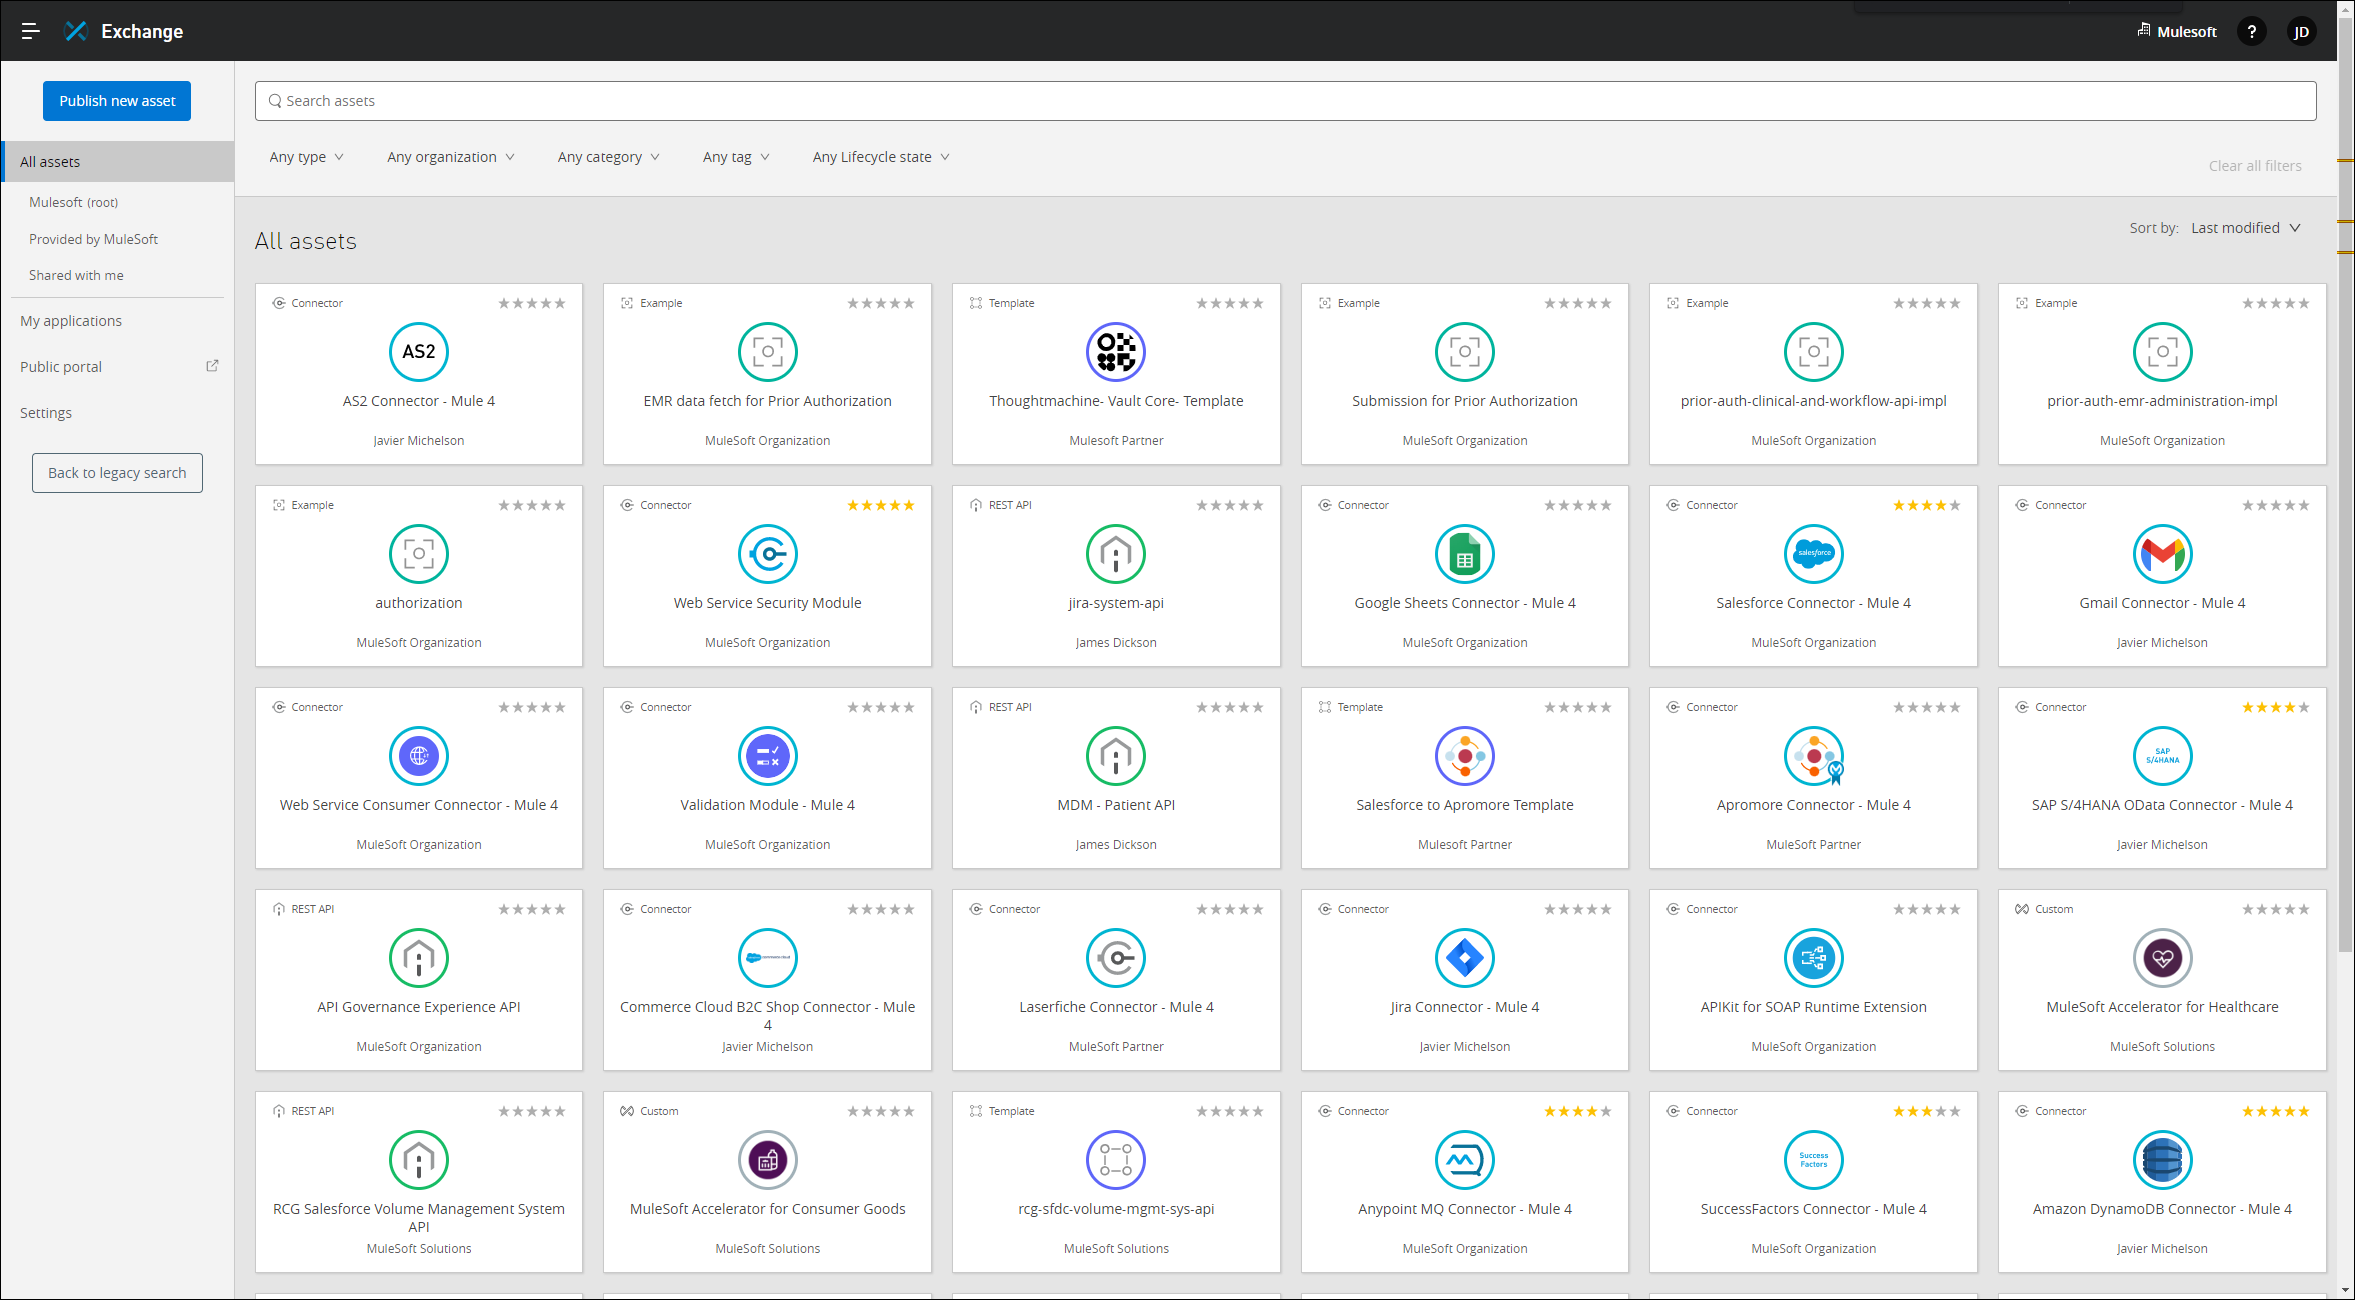
Instead, Steven can publish this robot to Anypoint Exchange with a few clicks. Exchange is the unified collaboration space for composable automation and integration assets across Makana Health. Steven has been evangelizing Exchange as a way to break down silos between the business and IT, empowering any user or developer to discover and re-use assets that help them accomplish their goals and alter business outcomes.
Once the RPA process is published (your instructor will walk through this process), any user can find the documented asset and quickly understand how they might leverage it in a use-case. This accelerates delivery of new innovation, and minimizes re-work, reducing overall total cost of ownership and maintenance.

View the Published RPA Process in Exchange
-
Log in to Anypoint Platform
-
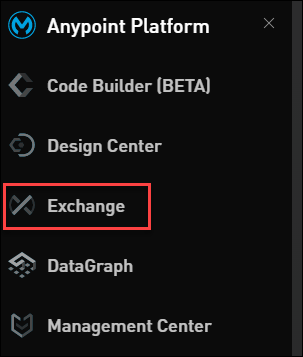
Navigate to Exchange by opening the left side menu.
-
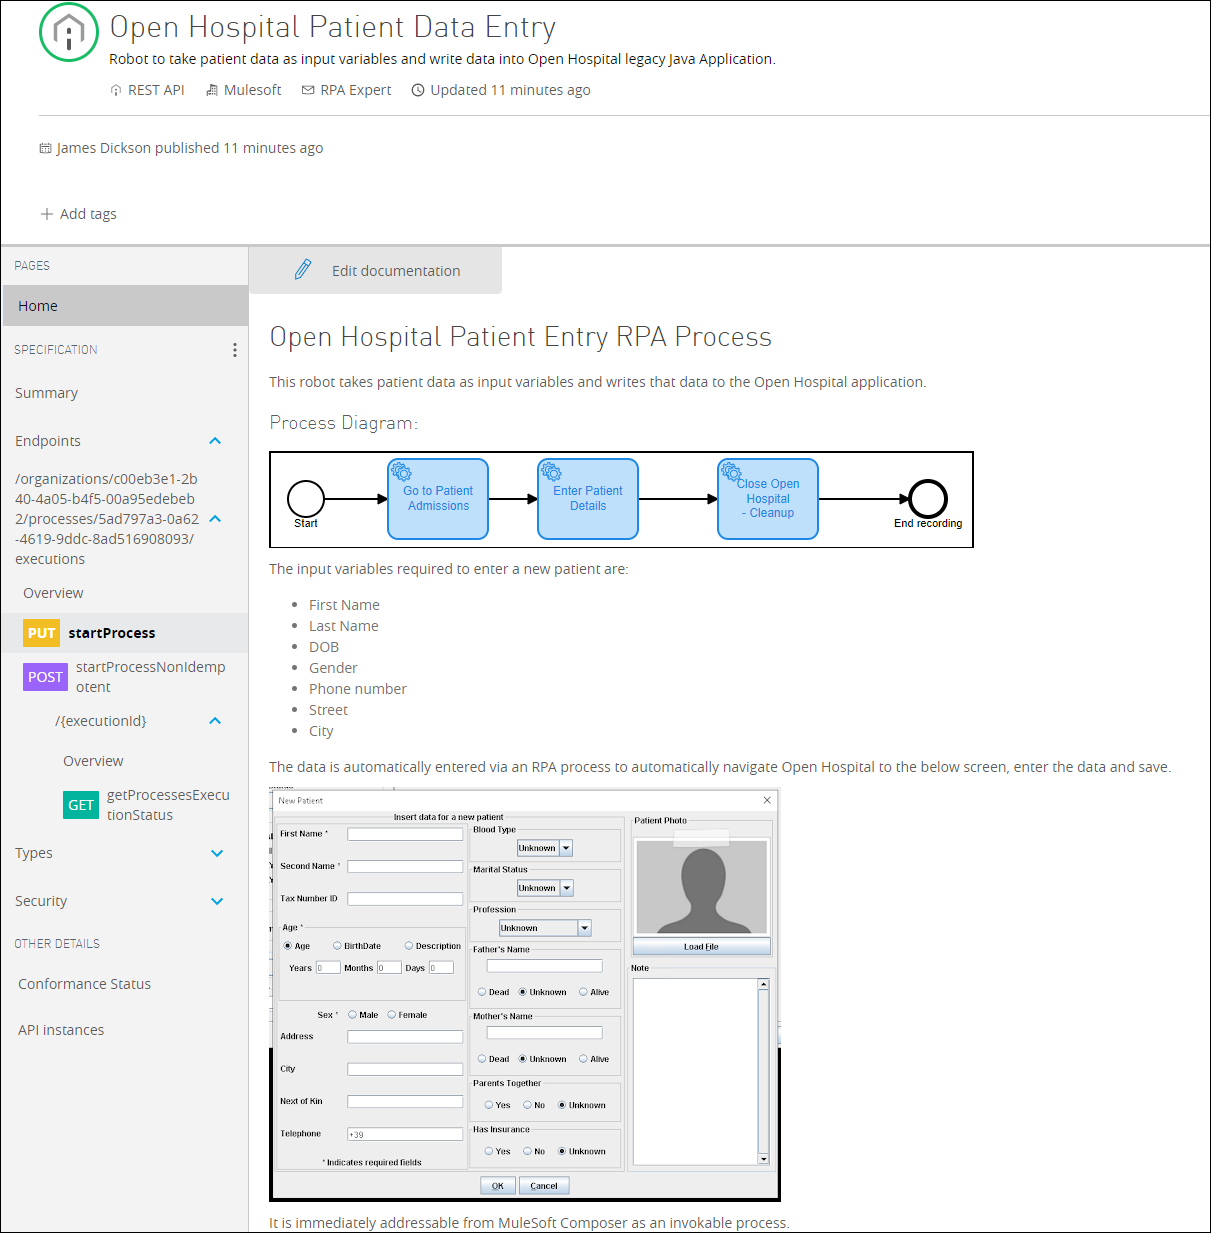
Find the RPA Process titled Open Hospital Patient Data Entry RPA Process and click the tile to open.
-
Review the documented asset. Note the ability to discover how the asset works and how it can be invoked from any source. We’ll see soon how easy it is to trigger this robot from Composer!
-
Close the process and log out of Anypoint.
Summary
Amazing! The RPA process is now a re-usable, component of automation that can further add value to workflows. These could be API-led flows like we build in Composer, or even Salesforce Flows where we trigger RPA processes from Flow Builder (that’s out of the scope of this workshop, but if you’d like to learn more, ask your instructor!)
Now, Steven can just send Audrey a note that the RPA Process has been published and is ready for her to directly consume in her Composer Flow!

What’s next?
Let’s see how easy it is for Audrey to simply point-and-click to integrate the RPA process into her original Composer Flow that triggered off of the Google Form, and uploaded the patient data to Salesforce.
Move on to Module 3 to learn how we test and deploy the robots at scale!